Setting Report Print Options
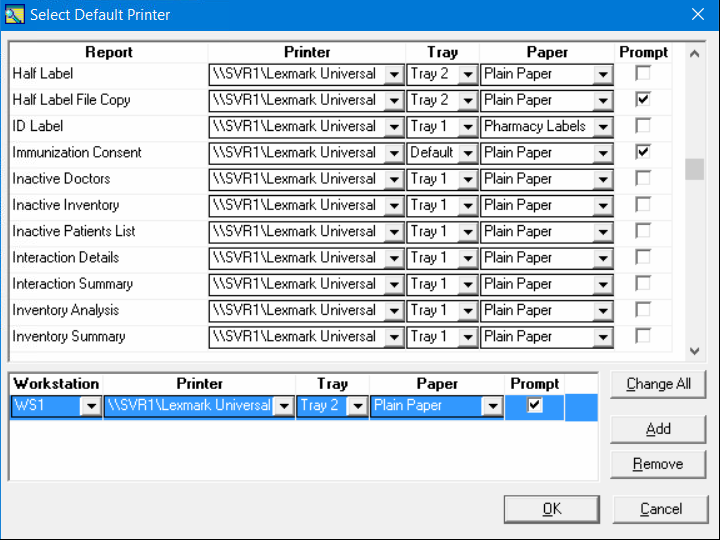
The Select Default Printer window allows default printer and paper settings can be selected for each PharmaClik Rx document (e.g. labels, counselling leaflets, reports, etc...).
Print options can be accessed from three locations:
Click on a field on the image below to view its description.
Setting Report Print Options from List Maintenance
- On the toolbar in PharmaClik Rx, select More > List Maint. The List Maintenance window appears.
- Select Reports from the dropdown list at the top of the window. The Select Default Printer window appears.
- Locate the report for which to set printer options, then make the appropriate selections.
- Select OK to save changes and close the window.
- Select OK in the List Maintenance window.
Setting Report Print Options from System Settings
- On the toolbar in PharmaClik Rx, select More > Pharmacy.
- Select the System tab.
- Locate the report for which to set printer options, then make the appropriate selections.
- Select the Save button.
Setting Report Print Options from PharmaClik Rx Reports
-
In PharmaClik RxReports, select the Printer action button . The Select Default Printer window appears.
- Locate the report for which to set printer options, then make the appropriate selections.
- Select OK to save changes and close the window.